# 2 Ways To Start Using HTML With Python At Runtime


So, as a developer you might have wondered whether can we use python with HTML at runtime like on the running script and yes it is possible to use it and we will see how to use HTML with Python at runtime, I also learned about this at this moment of writing this post.

There are two ways I would say that you can use HTML with python, and they are :

- Directly using python in HTML with the help of some modules.
- Using Jinja with python (I prefer this)

We will cover both of the topics in this post, So the first way is not something that I like and honestly I have never used it as well.

I discovered it while researching deeper for this post and it was not even completely documented, So I will link the orginal documentation and my reference.

So that if you came looking for that resource and I really don’t want to disappoint you with my knowledge, let’s get started then

## Python Inside HTML (Not Recommended)

So, I will give you a summary of what we are trying to do here, we are using package called digiweb and a modified version of pythoninsidehtml.zip that was provided in the documentation.

Here’s the link to the article that I found and let’s start writing some code, the setup and everything is inside the article so, first read this article and open the link for setting up.

### Writing python code

If you are going to write a python code then you should use brackets like this. **“<% YOUR VALUE %>”**

<% import random %>
<% myvar = random.randint(0,5) %>

this will only run the code but not display anything in the HTML pages.

### Displaying python variables

Let’s continue the previous code and also the display the int with some text of our own and remember the brackets for displaying have to be this way. **“<%= YOUR VALUE HERE %>”**

<% import random %>
<% myvar = random.randint(0,5) %>

<p> Here is my random number that is <%= myvar %> </p>

Now this will display the output in our html page and there we go we did it.

### Creating a for loop to our documents

So, for loop it is as same as the below one but the problem is that in python indentation is really must and in HTML indentation is only for the readability.

It is simple and easy but I will try my best to explain you

<% for num in range(10) %>

<p> <%= num %> </p>
<% end %>

We start the for loop as normal but to end the for loop we use **end** keyword here to tell the compiler that till here only you have to indent.

So now we will move on to using HTML in python with Jinja and it is my favourite and recommended one and I recommend only what I know is best out there for you mates.

## Python Inside HTML With Jinja (Recommended)

So, let’s dive into see what really jinja is and how does it work? for that am gonna show you with one of the web library in python called **flask**, probably most of you all heard about **flask** and **Django** they are the two popular web framework and library.

We are using flask in this tutorial for showing how easy it is to use jinja for HTML templating. Let’s get started. I am using a virtualenv and if you want to learn about it I will definently post an article,

├── requirements.txt
├── run.py
└── templates
└── template.html

This is the file structure you should follow and write this command in your shell and command prompt.

pip install flask
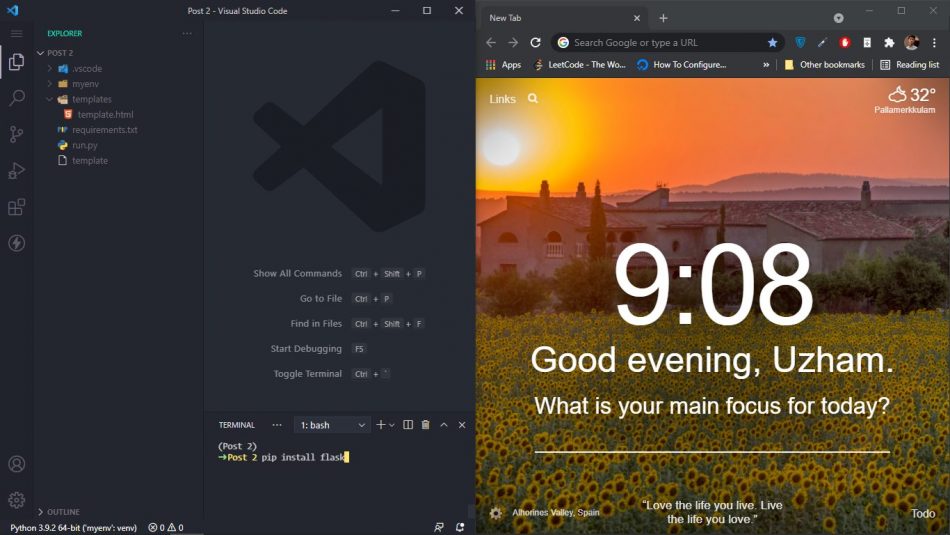
![](https://cdn.hashnode.com/res/hashnode/image/upload/v1641036498688/Fd0w080z4.jpeg)

In case if you want to also activate virtual env then type this following commands

python -m venv env

## If you're on windows

.\\env\\Scripts\\activate

## If you are using mac

source env/bin/activate

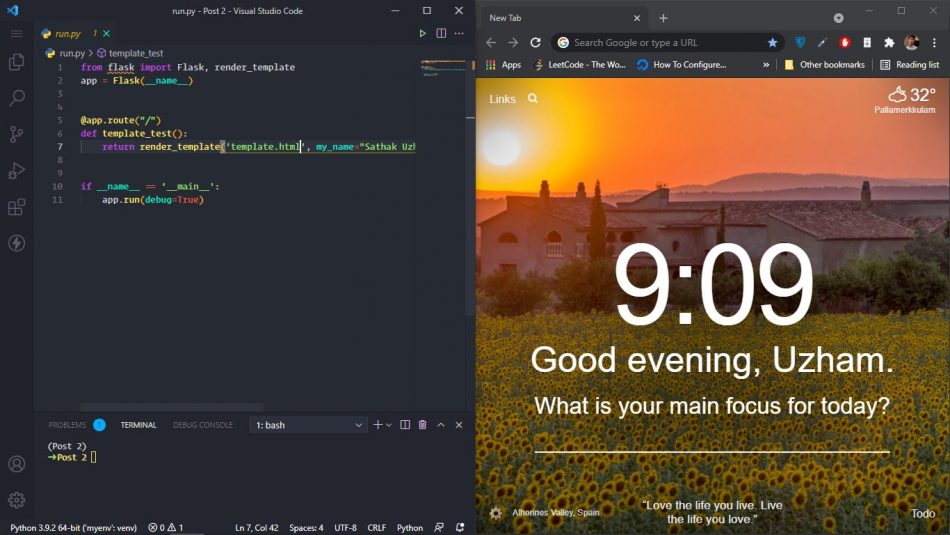
So in our run.py file please use these commands and I will say step by step why we use it and stuff.

from flask import Flask, render_template
app = Flask(\_\_name\_\_)

@app.route("/")
def template_test():
return render_template('template.html', my_name="Sathak Uzham", what_i_know=\["Python", "Javascript", "Dart"\])

if \_\_name\_\_ == '\_\_main\_\_':
app.run(debug=True)
![](https://cdn.hashnode.com/res/hashnode/image/upload/v1641036500893/155n7_vBn.jpeg)

So we are importing **flask** and a function from it called **render_template**, then we set a variable called app and this can be anything, for consistency I use app.

then we are using a decorator to say the route is at root which means at the “/” home of our localhost. then we start defining a function and you can name your function whatever.

inside that we are calling **render_template**, in which we are passing down two variables called my_name and what_i_know, moreover you can name it whatever until it is valid python variable name.

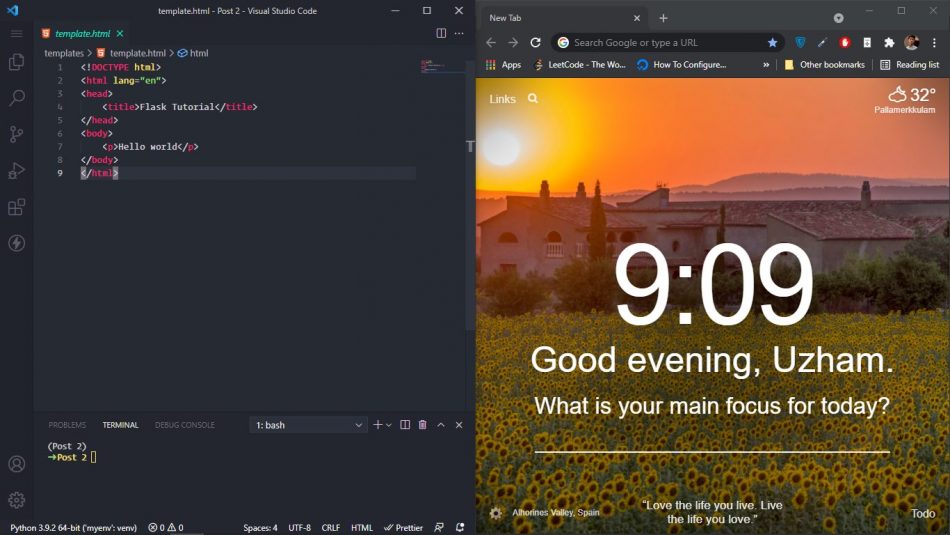
So let’s get started in our HTML file.

<!DOCTYPE html>
<html lang="en">
<head>
    <title>Flask Tutorial</title>
</head>
<body>
    <p>Hello world</p>
</body>
</html>

![](https://cdn.hashnode.com/res/hashnode/image/upload/v1641036503287/mUtH9ifoU.jpeg)

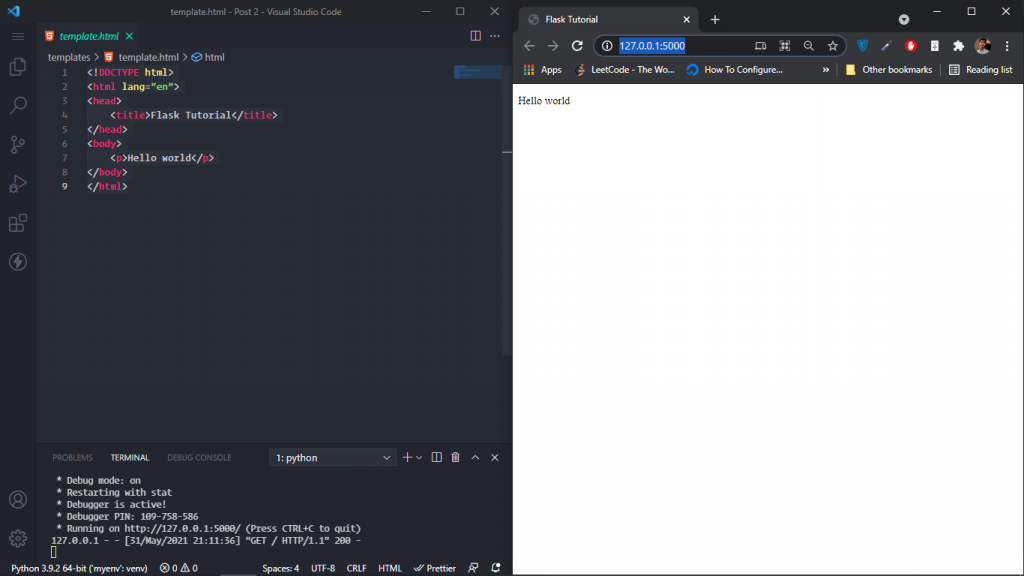
Now run the below code in your shell and open [_http://127.0.0.1:5000/_](http://127.0.0.1:5000/) in your browser.

python run.py
![](https://cdn.hashnode.com/res/hashnode/image/upload/v1641036505443/niHMJKM1G.png)

### Display Variables In Page

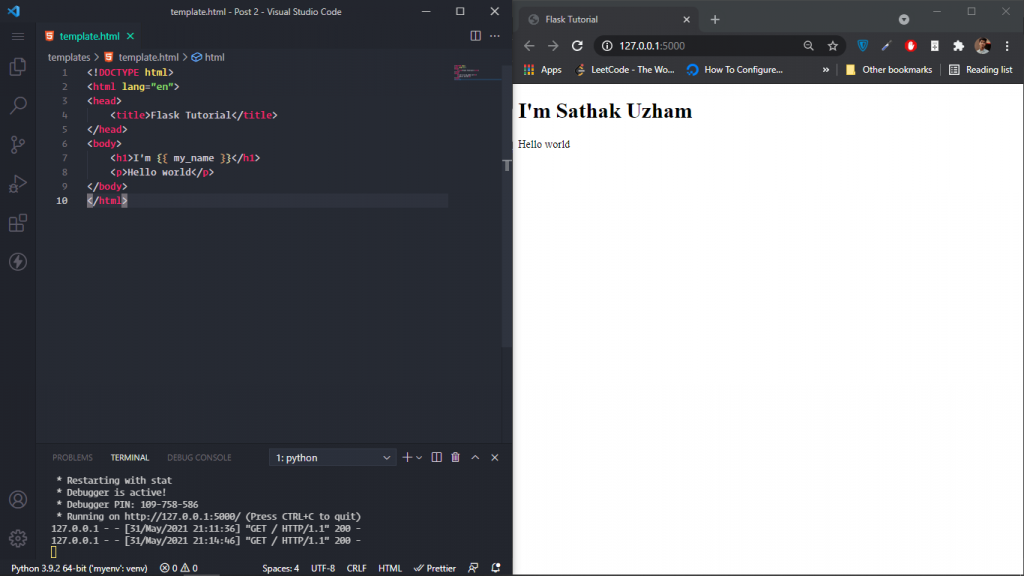
Now if you want to print a value that we already sent through our run.py file then we can access it via the variable name and let’s see it in action.

Use this {{ VARIABLE NAME OR SOME CODE }}.

<!DOCTYPE html>
<html lang="en">
<head>
    <title>Flask Tutorial</title>
</head>
<body>
    <h1>I'm {{ my\_name }}</h1>
    <p>Hello world</p>
</body>
</html>

![](https://cdn.hashnode.com/res/hashnode/image/upload/v1641036509551/GH-k8P0Dm.png)

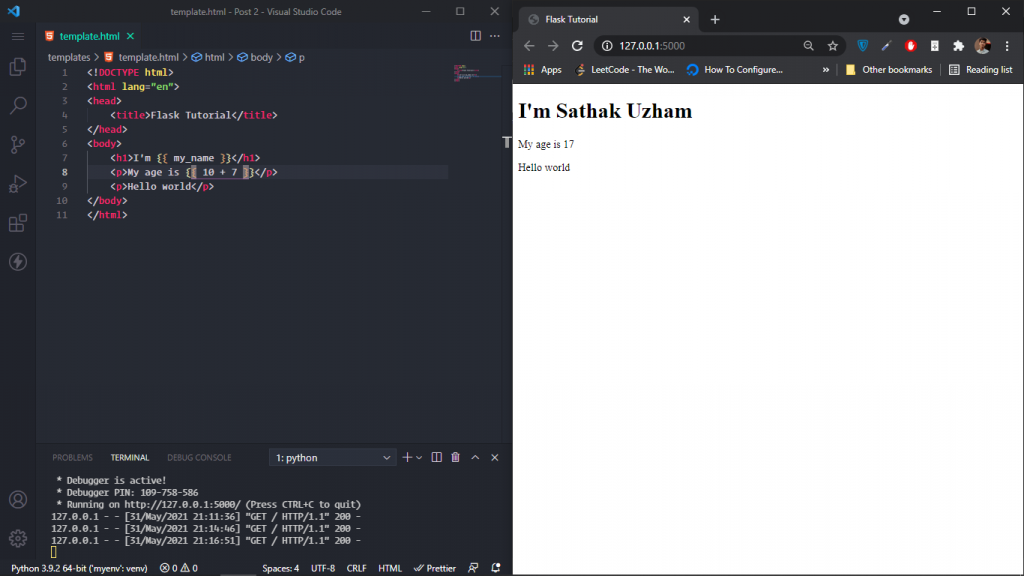
Yea!!! We did it and let’s see how to perform small arthmetic operations. It is the same as that use it in between the brackets like this **{{ 10 + 7 }}**

<!DOCTYPE html>
<html lang="en">
<head>
    <title>Flask Tutorial</title>
</head>
<body>
    <h1>I'm {{ my\_name }}</h1>
    <p>My age is {{ 10 + 7 }}</p>
    <p>Hello world</p>
</body>
</html>

![](https://cdn.hashnode.com/res/hashnode/image/upload/v1641036511435/1YwQBWM9T.png)

Now let’s get into some advanced stuff.

### For loop in Jinja

To start looping in jinja we need array or tuples or something that can be iterated. So on our run.py do you remember we added an array called what_i_know.

We will loop through it and I will paste the code below and explain then.

<!DOCTYPE html>
<html lang="en">
<head>
    <title>Flask Tutorial</title>
</head>
<body>
    <h1>I'm {{ my\_name }}</h1>
    <p>My age is {{ 10 + 7 }}</p>
    <p>Hello world</p>

    <p>Programming languages I know</p>
    <ul>
        {% for lang in what\_i\_know%}
        <li>{{ lang }}</li>
        {% endfor %}
    </ul>

</body>
</html>

{% for lang in what\_i\_know%}

<li>{{ lang }}</li>
{% endfor %}

Here is what we are doing in closer look, We done is that normal for loop stuff but we have added an endfor at the last to indicate the end of the loop.

Between the loops you can enter anything and it will display for the number of items that are in the list. Here is the result of it.

![](https://cdn.hashnode.com/res/hashnode/image/upload/v1641036513269/I1th7Weaue.png)

## Conclusion

Finally, we have completed learning how to embed HTML into our python file and I really enjoyed writing this article, It’s almost 3 hours now to complete writing about this and I literally loved every section of it.

If you want I can continue a part 2 with advanced stuff like **routing** and many more stuffs. Even if only one person wants I will do it for you mate.

Show your support and what language do you use primarily and do you also use HTML with it?[](https://www.facebook.com/sharer/sharer.php?u=https%3A%2F%2Fartisticprogrammer.com%2F%3Fp%3D95)[](https://twitter.com/share?url=https%3A%2F%2Fartisticprogrammer.com%2F%3Fp%3D95&text=2%20Ways%20To%20Start%20Using%20HTML%20With%20Python%20At%20Runtime)[](http://localhost/artisticprogrammer/?p=95#)[](https://www.linkedin.com/shareArticle?url=https%3A%2F%2Fartisticprogrammer.com%2F%3Fp%3D95&title=2%20Ways%20To%20Start%20Using%20HTML%20With%20Python%20At%20Runtime)