FastAPI Vs Flask, Performance Comparison 2021

We will be testing the performance of the flask web framework in python and fastapi web framework in python. Latency (ms), Bandwidth (mbs/req) and the requests per second.
Last day we saw the performance difference between FastAPI and ExpressJs, Click here to read the article. It was really good thing to find which is the best among them.
If you want to see only the result, skip to the testing section, we will be going through every steps on setting up the server and test environment.
FastAPI is getting popular these days in the web development community and I have been hearing it a lot often. So i wanted to do the testing by myself.
Most of the articles that I read mentioned that the FastAPI is fast as it says but nobody provides a proof of what they are saying.
And we don’t know whether they are in collaborations with the developers. We developers don’t trust by just words right.
So here I am, we will do the testing today with autocannon, for three things in here
- Requests Per Second (First importance)
- Latency (Second importance)
- Bandwidth (Third importance)
Now, we have defined what we are going to test and with what.
Information of my desktop that I am testing it with :
- 4 core i3 3rd gen processor
- 8 GB Ram
- Running Manjaro Linux XFCE
No background processes are happening during the running of the tests, so we don’t need to worry about other variables that may affect the performance of the test.
Let’s setup our workspace.
Setting up our workspace
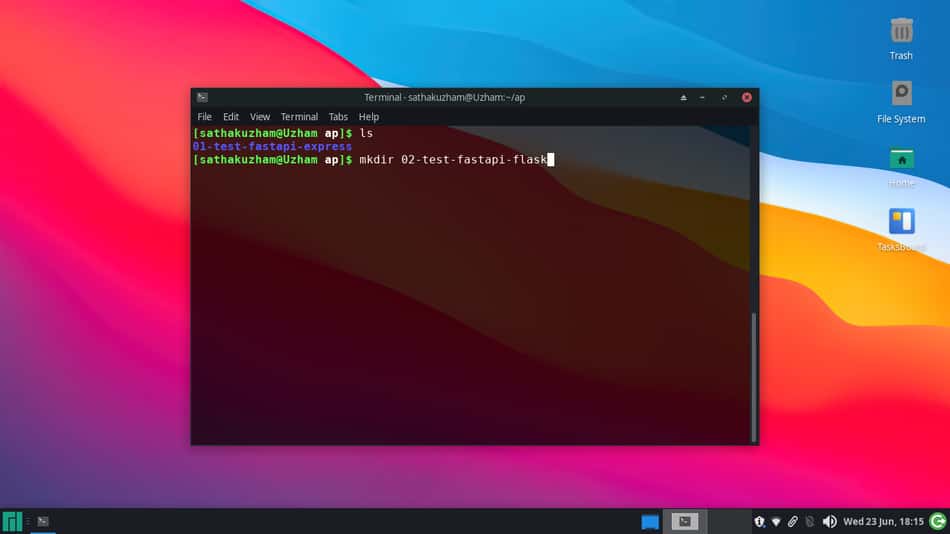
So, we are creating a new folder called 02-test-fastapi-flask in our directory that we made during our last test.
Here is our folder structure.
ap | └──02-fastapi-flask
Now inside that folder we are creating another folder called fastapi and starting VS Code inside it.
and our folder structure is
ap | └──02-fastapi-flask | └──fastapi
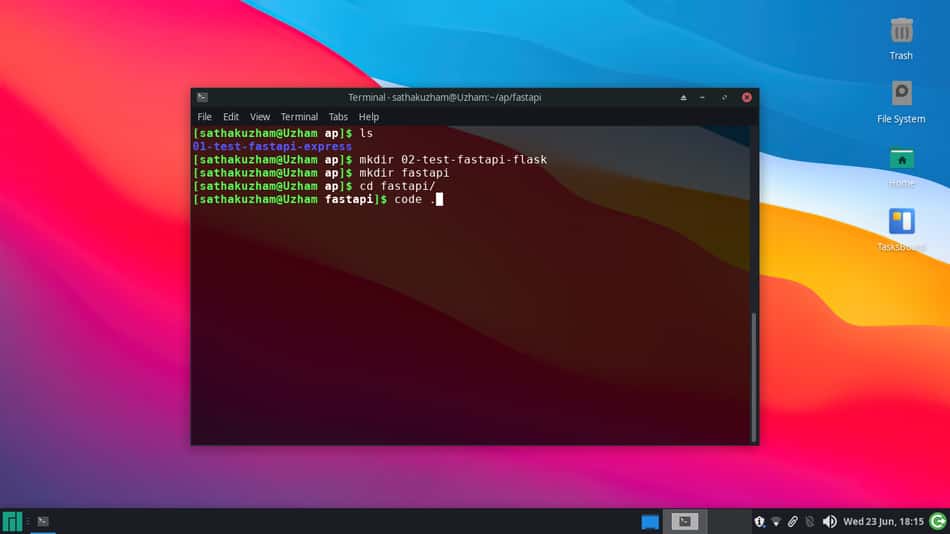
We have completed setting up our workspace, let’s code our api.
Setup FastAPI
In the last section we have finished setting up our workspace for coding and opened the vs code in the fastapi folder. Let’s continue.
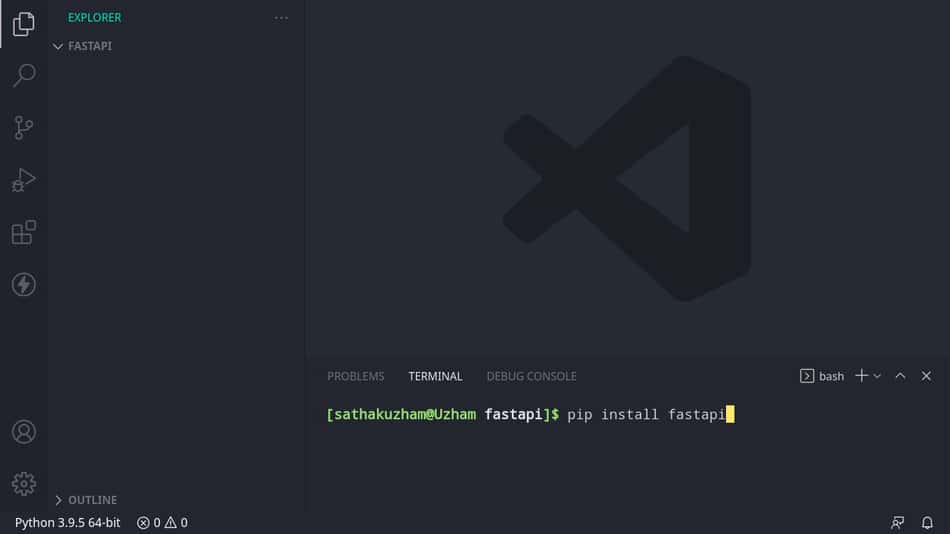
Now we are going to install fastapi, you should have installed python in your desktop.
pip install fastapi
and I have already installed it in my desktop during our last test, it is downloading it from my cache.
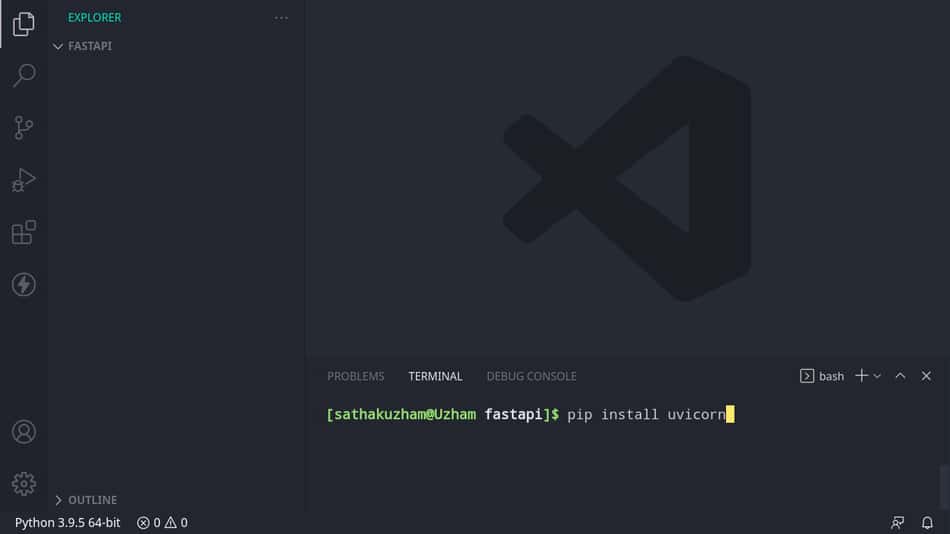
Now we are installing uvicorn for launching our api in our desktop, since fastAPI is really a light web framework we have to use this for running this as a web server.
pip install uvicorn
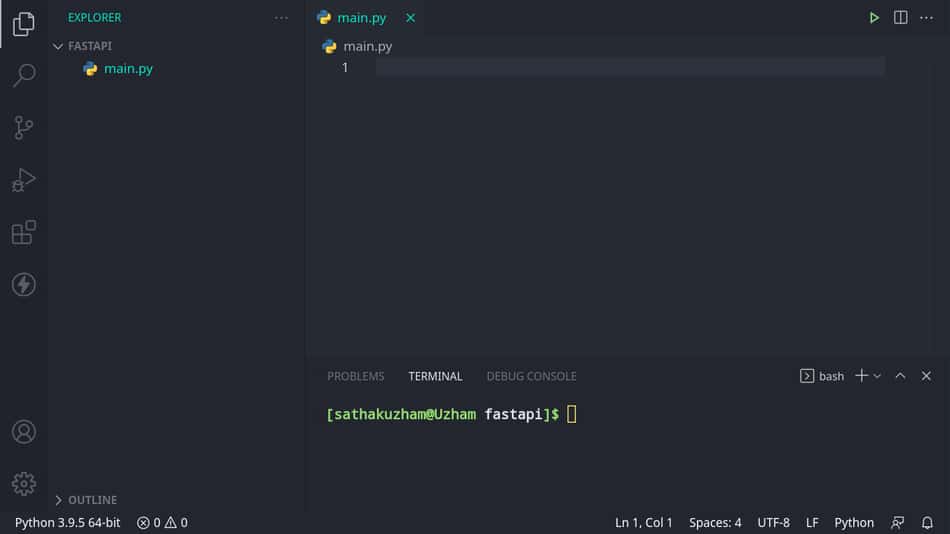
Now, we are creating a python file called main.py, just tap on the top bar of the sidebar there is a add new button or right click and create a new file.
You can name the file anything you want but make sure it ends with .py then there’s no issue.
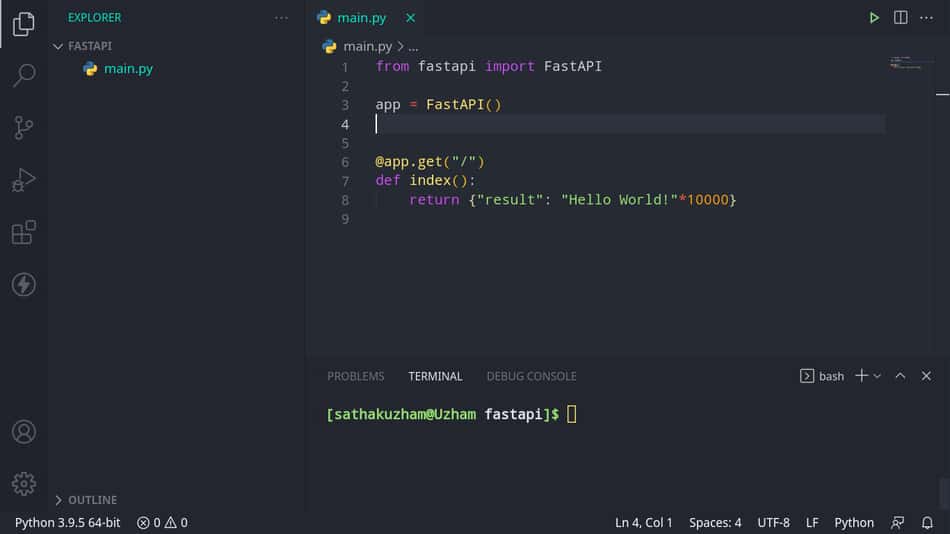
This is the code we are writing for our api.
from fastapi import FastAPI
app = FastAPI()
@app.get("/") def index(): return {"result": "Hello World!"*10000}
Let’s break this code line by line.
from fastapi import FastAPI
In the first line we are importing the FastAPI from the fastapi package and in the second line we are calling that function and initializing it
app = FastAPI()
And storing it in a variable called app.
@app.get("/")
Then we are using a decorator for defining the route in which we want to show our response “/” means the home route.
Example like “artisticprogrammer.com/” this is a home route.
def index(): return {"result": "Hello World!"*10000}
Then we are creating a function called index and returning a JSON object or python dictionary. which will return “Hello World!” 10,000 times.
We are using this way for imitating a real life JSON response.
Because in real life we might send sometimes a larger response than this.
That’s all for the coding of the API, Yea I know FastAPI is really a way smaller web framework and light framework, we can get started in seconds.
Now we have to start our API. That’s why we have installed uvicorn.
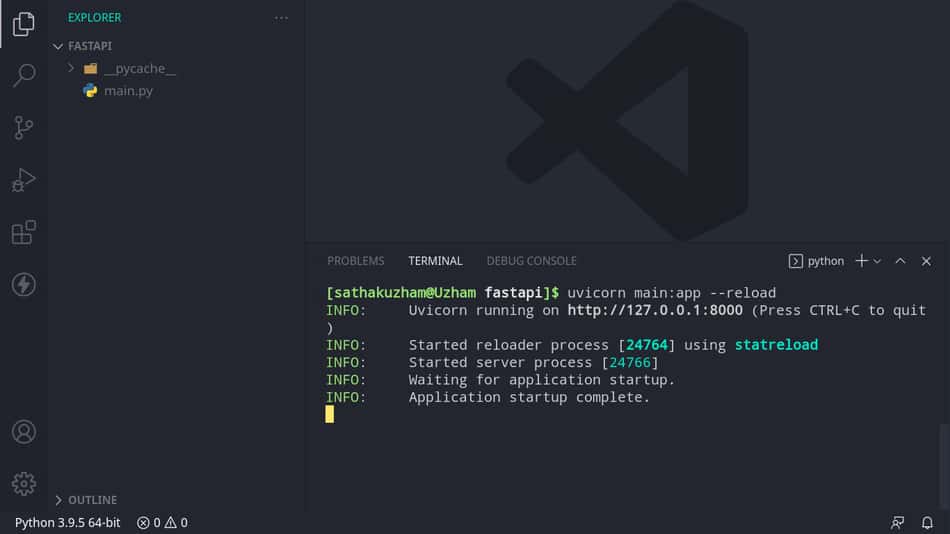
It is simple to run the API just use this code if you followed everything as I mentioned.
uvicorn main:app --reload
If you just made your naming in file and in the naming of the variable, That’s fine too just make sure this.
uvicorn {{YOUR FILE NAME}}:{{THE VARIABLE NAME THAT YOU USED}} --reload
We have completed our fastapi setup, let’s close the vs code and create another folder for flask,
Setup Flask
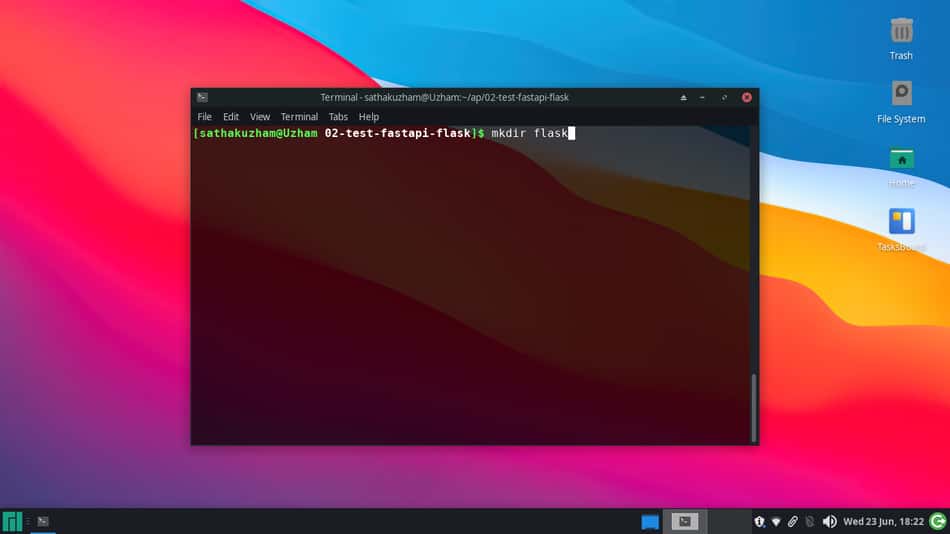
Now, create an another folder inside the 02-fastapi-flask
ap | └──02-fastapi-flask | └──fastapi | | | └─main.py | └──flask
So now that we have created the folder let’s open vs code inside that folder.
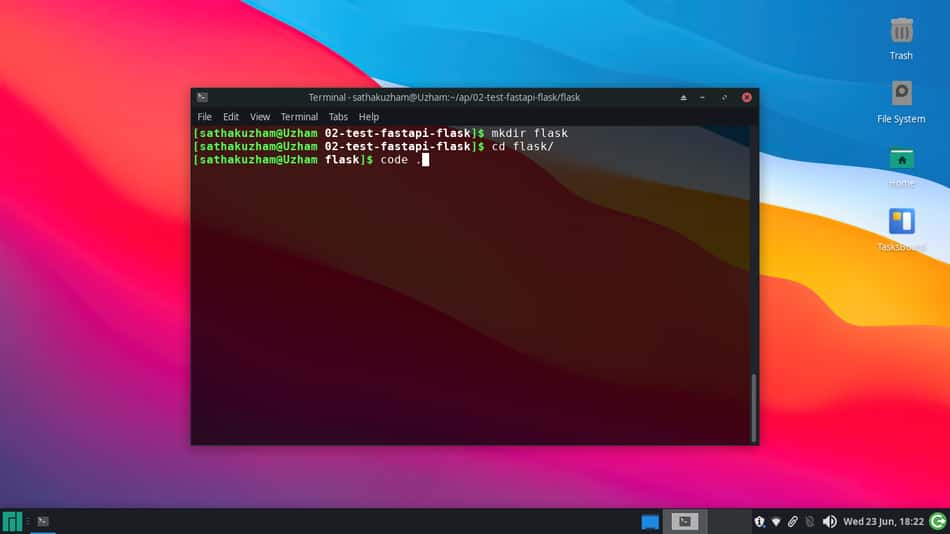
That is done then.
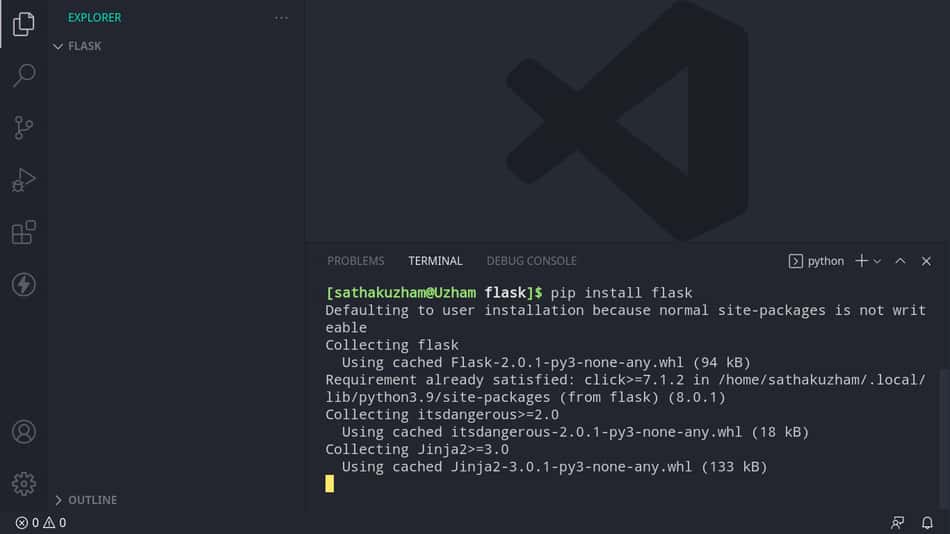
So now we have opened the folder inside our favourite editor you can open with anything you like, no discrimination, even if you use light mode.
We have to install flask in our desktop, type the below code.
pip install flask
It should have downloaded the flask web framework in your desktop.
Now you have to create a new file and I am naming it main.py, you can name as you want but make sure the extension is .py
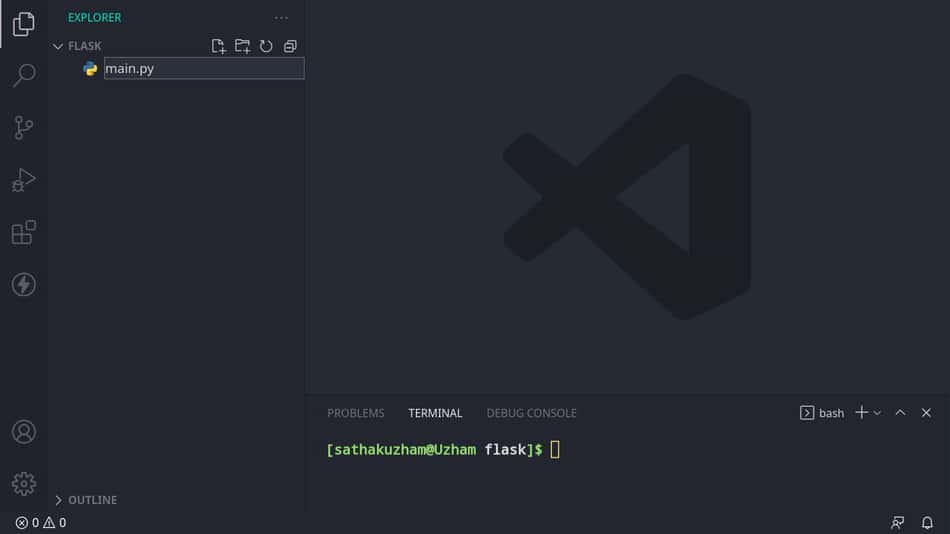
You can create it with the new file icon in the top of the side bar of vs code or right click inside the sidebar and tap on new file and name it.
It is time to write the code then,
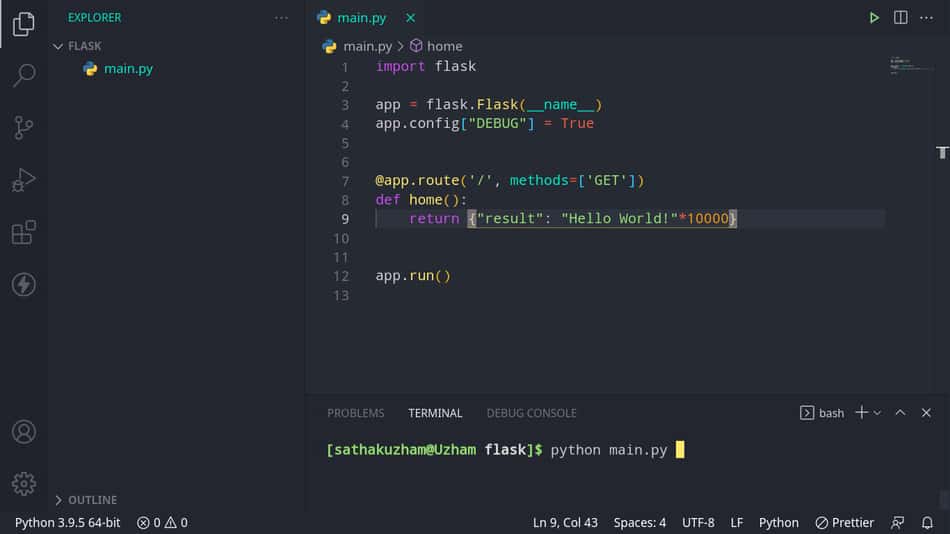
So this is the code that we have wrote for the API.
import flask
app = flask.Flask(__name__) app.config["DEBUG"] = True
@app.route('/', methods=['GET']) def home(): return {"result": "Hello World!"*10000}
app.run()
Don’t worry mate, I will explain line by line.
import flask
In the first line we have imported flask,
app = flask.Flask(__name__) app.config["DEBUG"] = True
Then in the second line we have called the main Flask function from the import and given the name of our file as argument (__name__)
And assigning to a variable called app
app.config["DEBUG"] = True
Here we are setting it that we are not in production, by saying debug is true.
@app.route('/', methods=['GET'])
We have used a decorator and specified the route to be “/” and the method of the request to be get.
def home(): return {"result": "Hello World!"*10000}
Here we are creating a function named home and it is returning JSON object or python dictionary and it is giving the same response as our fastapi.
app.run()
Then we are running our app, so that it will listen for requests to come to the specified route.
That’s all for the flask API and our whole coding. The only thing we have remaining is that to setup for testing the APIs
Setup API Tests
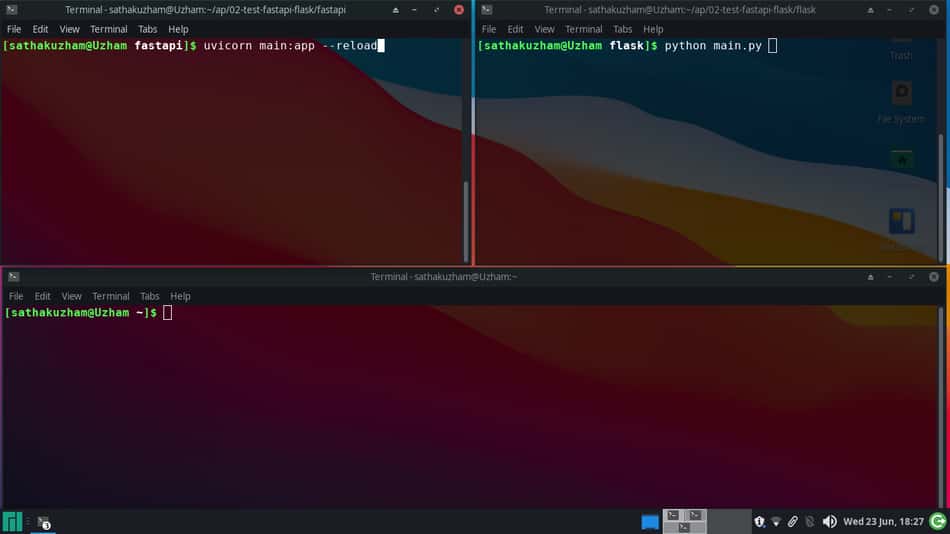
That’s all the setup we just have to open three terminals or cmd prompts for running the tests, we just have one last thing to do before starting.
We have to install autocannon for testing.
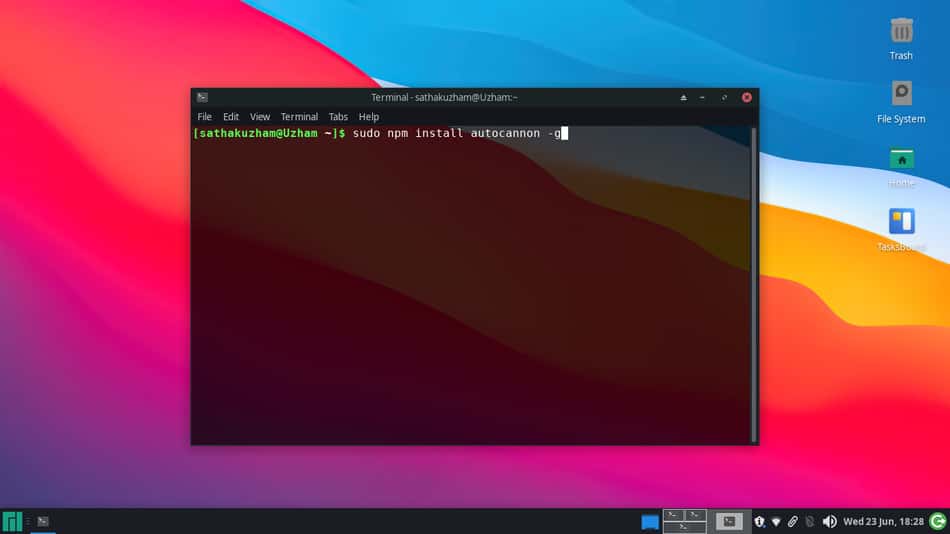
If you are in windows open a administrator cmd prompt and run this.
npm install autocannon -g
If you are in MacOS / Linux then run this command.
sudo npm install autocannon -g
This should install our dependency that was required.
Running Test In FastAPI Server
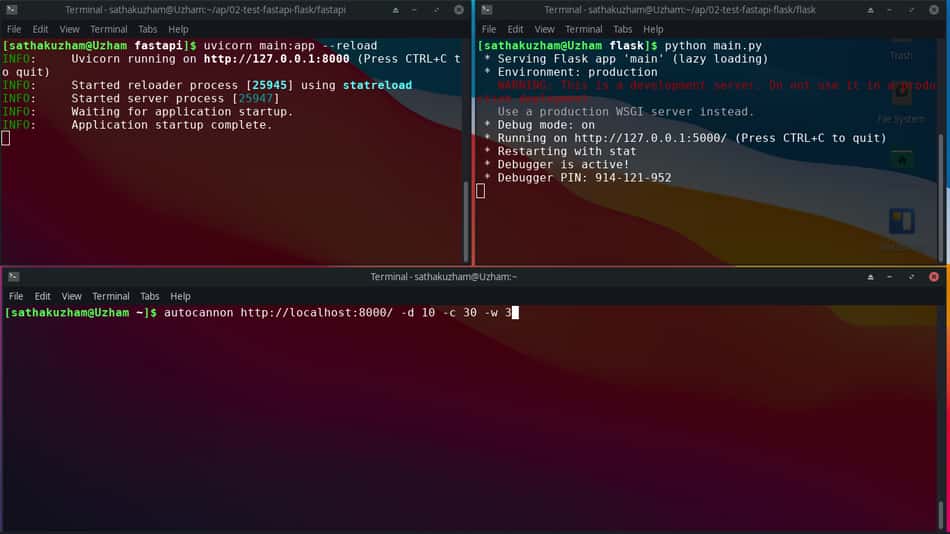
We are running this script it will run the test in port 8000 and for duration of 10 seconds and with 3 workers
autocannon http://localhost:8000/ -d 10 -c 30 -w 3
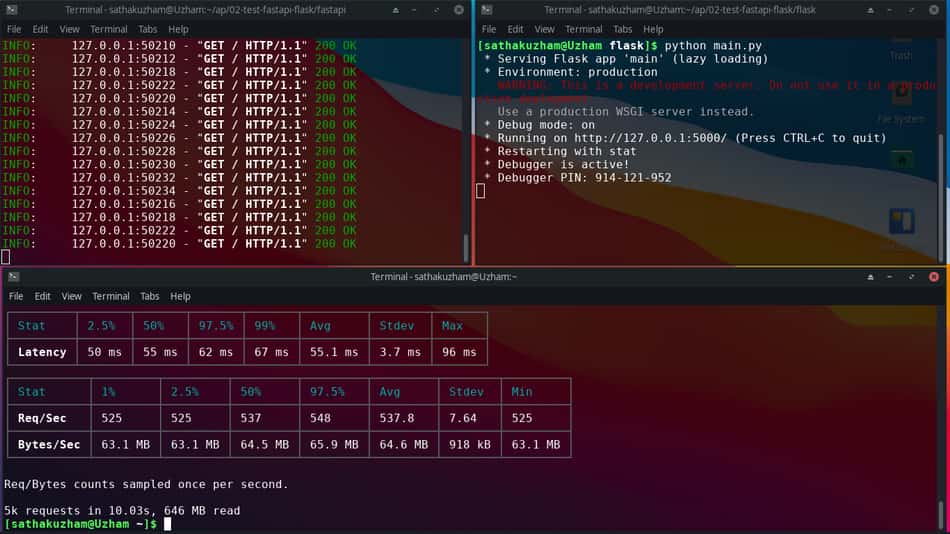
Here is our result for FastAPI, Let get the results for flask.
Running Tests In Flask Server
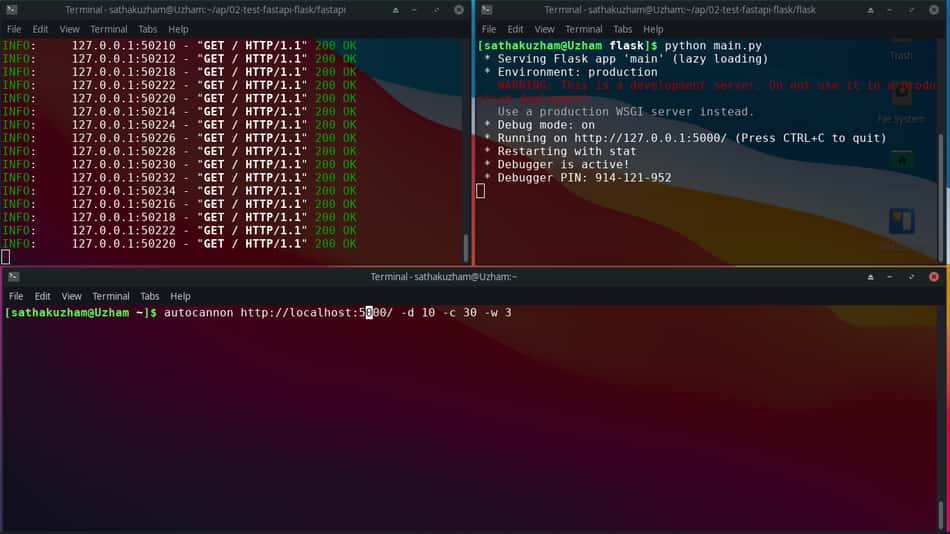
When we run this command it will send requests to port 5000 and for 10 seconds and with 3 workers.
autocannon http://localhost:3000/ -d 10 -c 30 -w 3
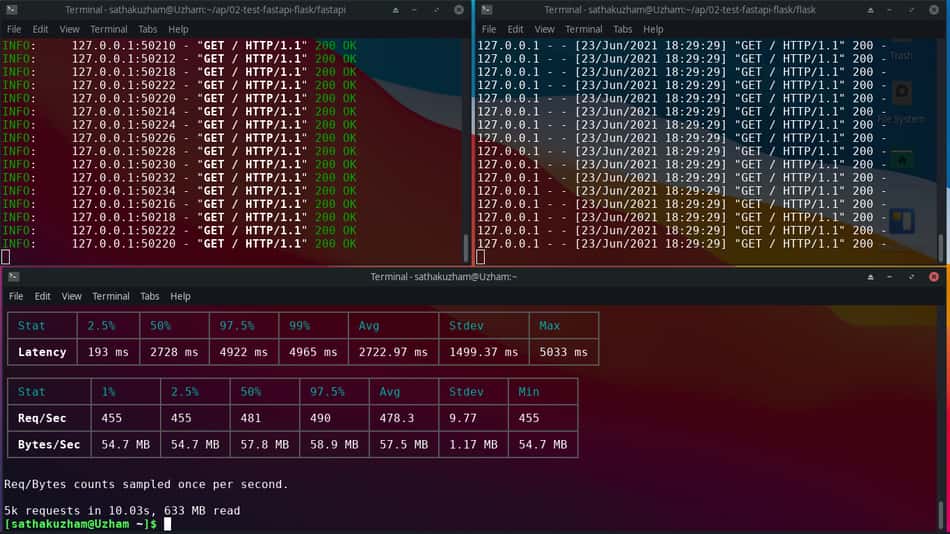
Completed our requests, let’s see our results.
Results
| Framework | Requests Per Second | Latency | Bandwidth |
| FastAPI | 537.8 Req/ Second | 50 ms | 0.1201 MB / Req |
| Flask | 478.3 Req/Second | 193 ms | 0.1202 MB/ Req |
| Results | FastAPI | FastAPI | FastAPI |
Conclusion
Finally have done our testing we found that FastAPI is the faster than Flask.
Here are the things you should take away from this research,
- FastAPI is faster in requests per second, latency and also the bandwidth, than flask.
- FastAPI is 1.12 times better than flask in no of requests per second.
- FastAPI is 3.86 times better in latency than flask.
- FastAPI is almost the same as flask in bandwidth usage per request.
There you go if there’s any concern leave it in the comments and I will surely consider it.


