Raspberry Pi 4 Setup Headless, Easiest Way

There are lots of article on setting up a raspberry pi but most of them never cover the topic of setting up a raspberry pi 4 without both mouse and keyboard, let's see how to setup with authentic images.
I have ordered an raspberry pi 4 model b 8gb ram for this blog and we are planning to make a whole series on raspberry pi's like from web server to hosting multiple site and load balancing with raspberry pi and open source and free ssl certificate.
And lot more, like automated backups with cronjob and automated backups that will be uploaded to s3 bucket in aws.
If you would like to learn raspberry pi from start to finish this is the series for you and it is our first post on the setup.
We are trying to get the same feel and scenario of setting up a completely new server that your company has bought.
Raspberry pi's are amazing and if you are really like you want to just hoard the whole stock of raspberry pi and make a big cluster of raspberry pi's which mines bitcoin in the fastest rate.
Anyways those are just fantasies or is it? if our blog grows to some level I promise I will make a 10 raspberry cluster if our blog reaches 75k per month of unique users.
Which is smaller comparing to the whole internet size, anyways I will make a course for free on how you should make a raspberry pi cluster.
So stay tuned for that because we only have 73.5k to go, which I believe we will achieve very soon,
Let's get started on our setup,
Hardware setup
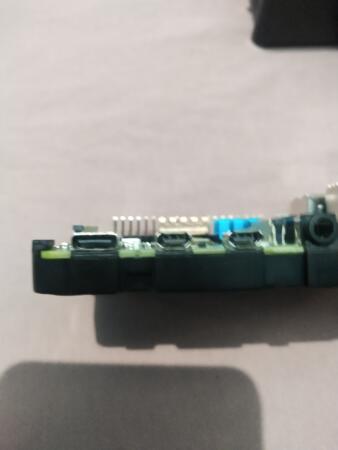
Just bear with my worst photographic skills but it does the job of explaining what the image is trying to do.
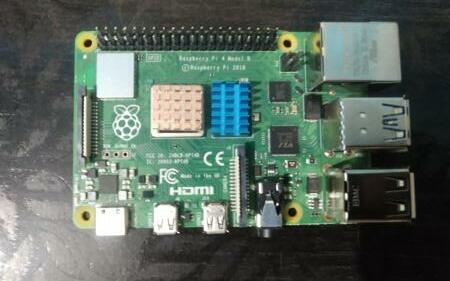
This is the image of the raspberry pi that you also might possibly have but you can also have the different raspberry pi that no problem,
You can apply it for anything,
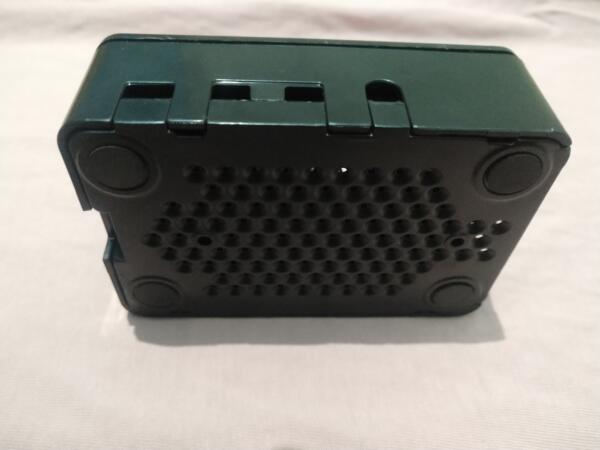
This is the image of the case of the raspberry pi that I bought for my pi, and I am going to use this case for my raspberry pi.
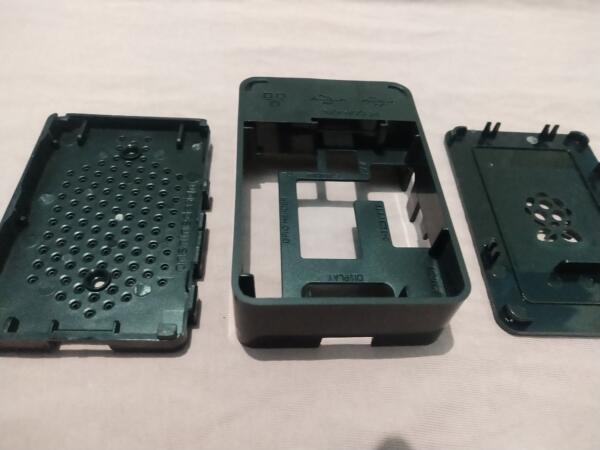
So now, I have opened the case into three of the component and you might have only two of the component.
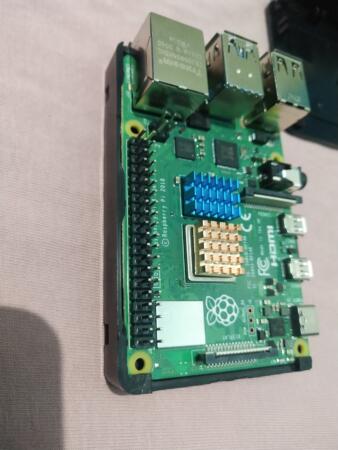
After that you should place the raspberry pi in the bottom component of the case then,
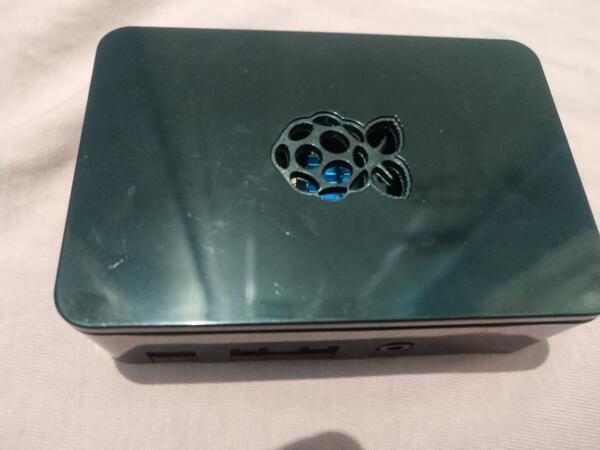
Now place the top lid of the case on top of the middle component and that's it for the setup of the raspberry pi,
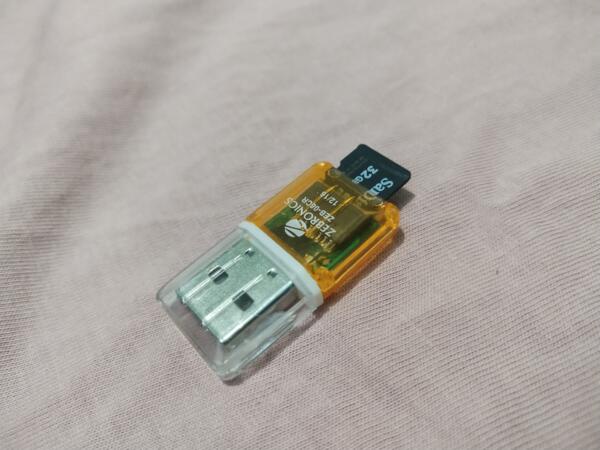
We shall get going by plugging our SD card inside a memory card reader that you could get it for easily anywhere.
Booting the image.
So now we have completed the hardware setup almost to continue further we need to boot the image into this SD card.
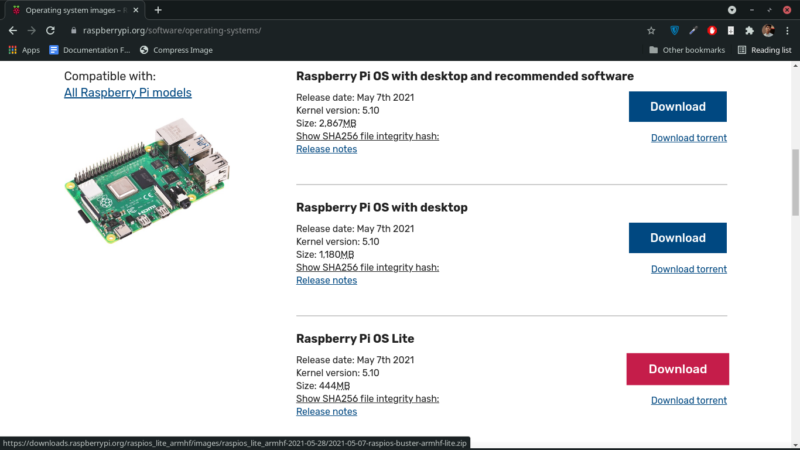
Click here for going to the downloads page of the raspbian image, now follow me as I show you, now download the raspberry pi os lite because it doesn't have anything unnecessary like other distros bloated with a lots of things.
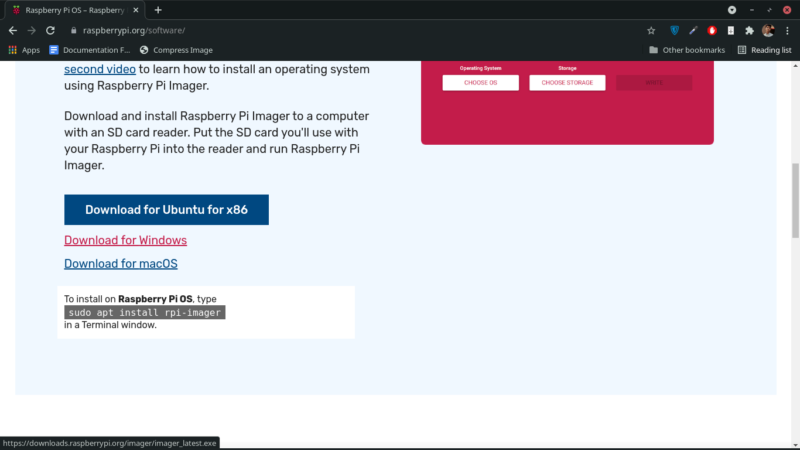
Click here to download the executables of the raspbian imager, now if you are in ubuntu just type this command.
sudo apt install rpi-imager
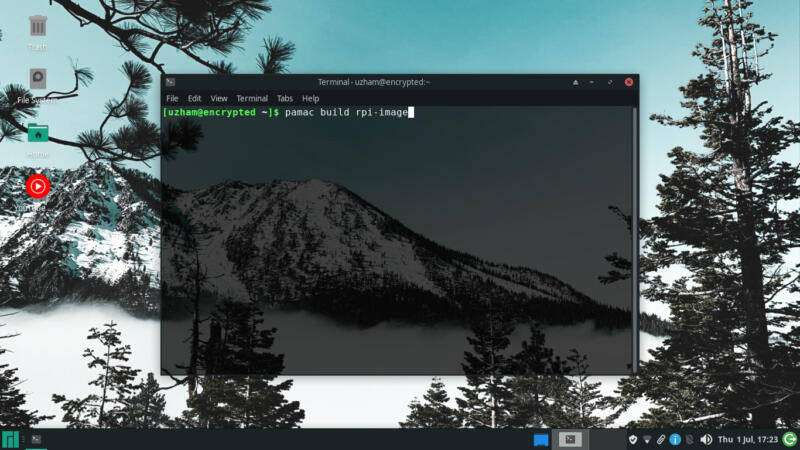
Only for arch linux or manjaro
In case if you are in arch linux its way simpler than that. type this
pamac build rpi-imager
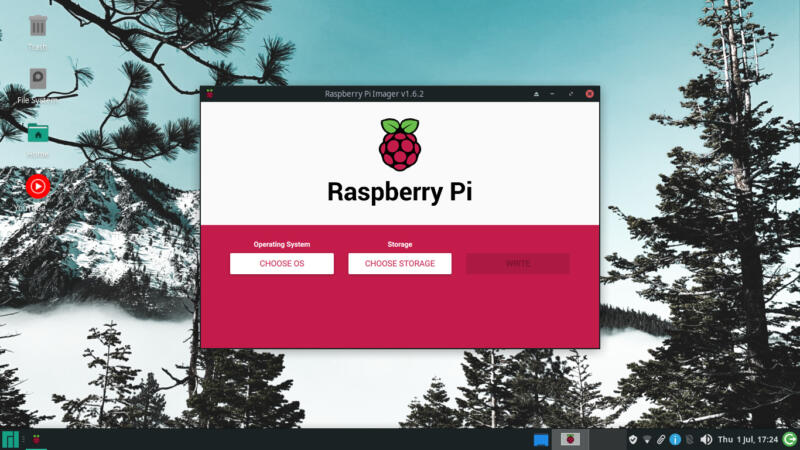
Now open the raspbian imager and it is how it will look like.
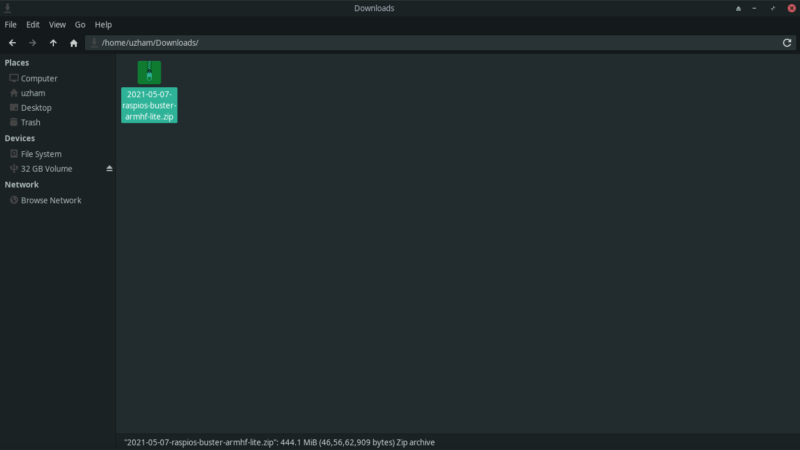
Now open your downloads directory where you have download the raspbian lite image and now you have to extract it.
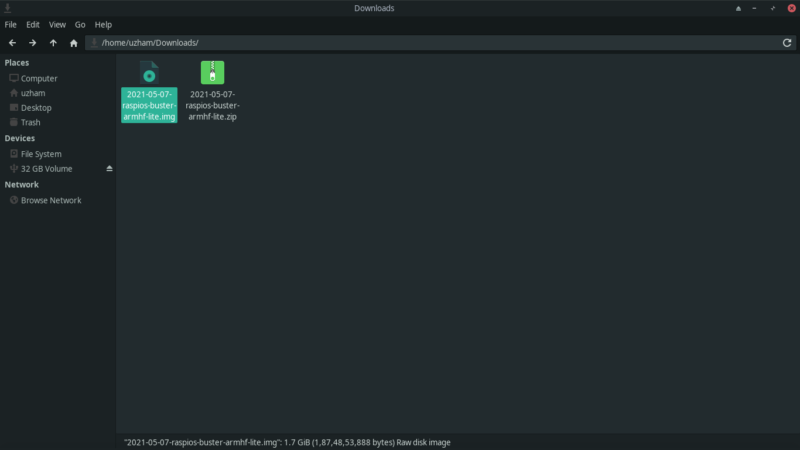
After extracting you will see a image file and that means you are done.
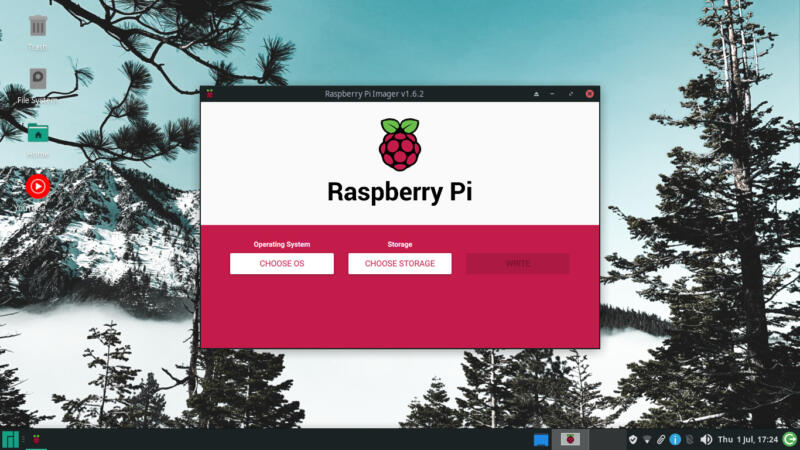
Now open the raspbian imager and click on the choose os button and it will open a pop up
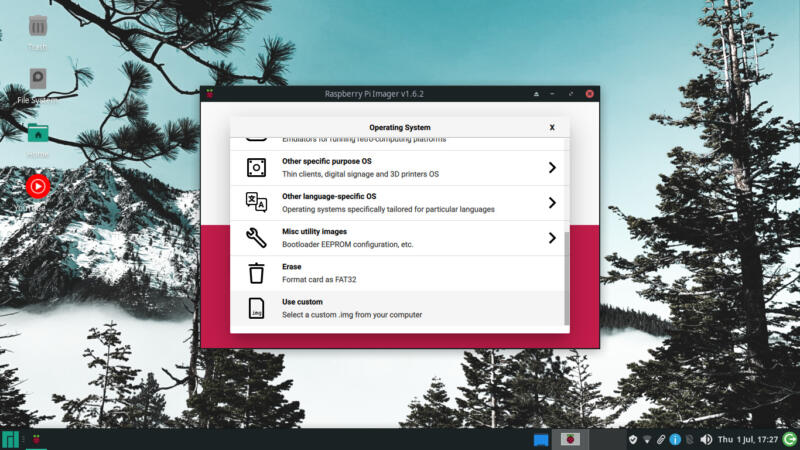
Now go to the bottom and choose use custom then it will open a file manager
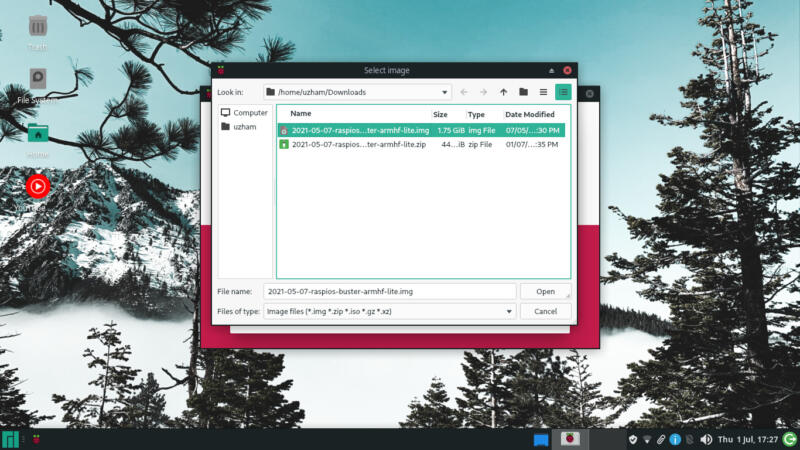
Now navigate to your downloads directory and choose the image and click open or double click it.
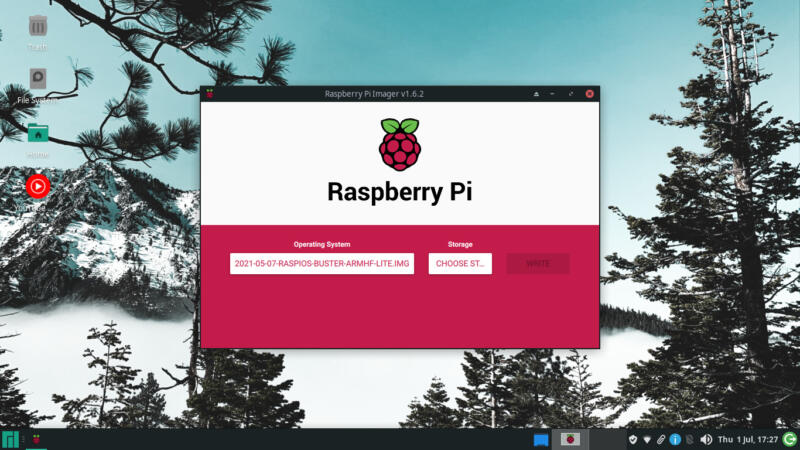
Now click on the choose storage button and it will again open a pop up and choose your SD card
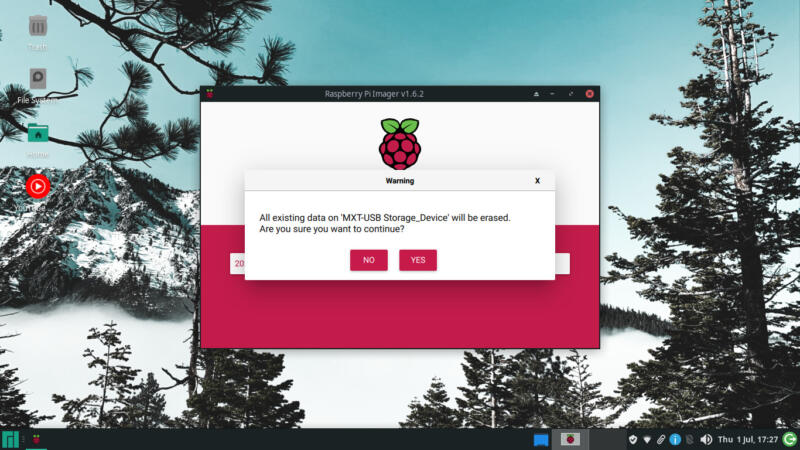
And click yes which will format your sd card to brand new one, and finally click on write.
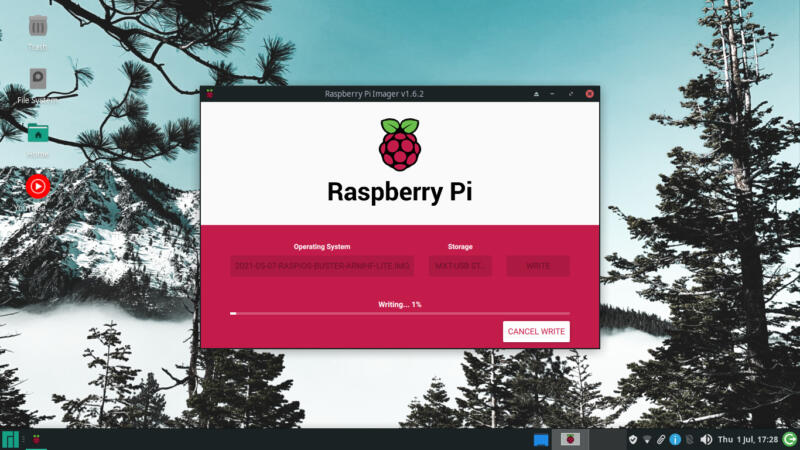
The process should start to write on your sd card, now once after it is done open the file explorer.
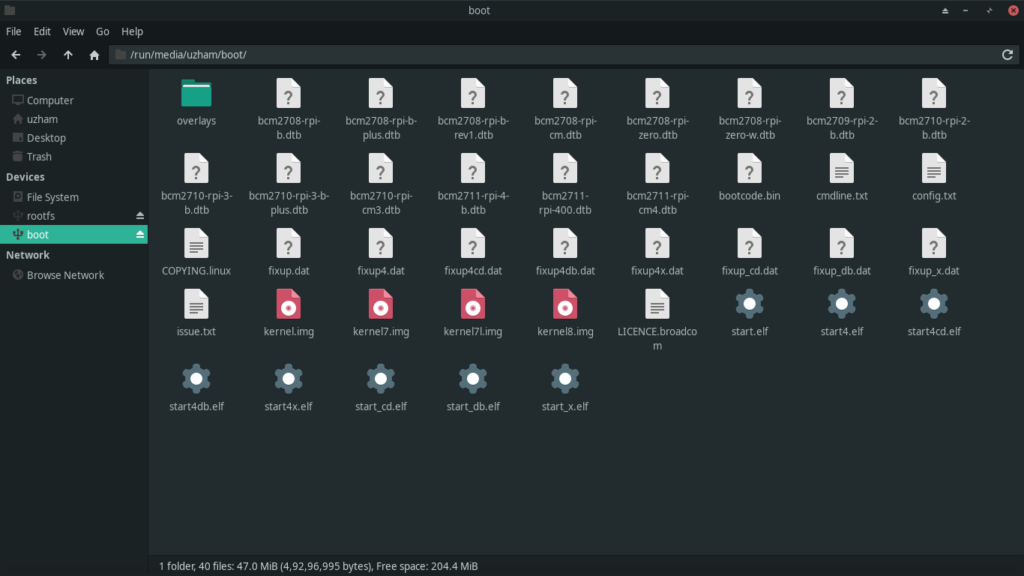
Now you should see something like this if you are in windows just create a new file without any extensions and name that file to be ssh
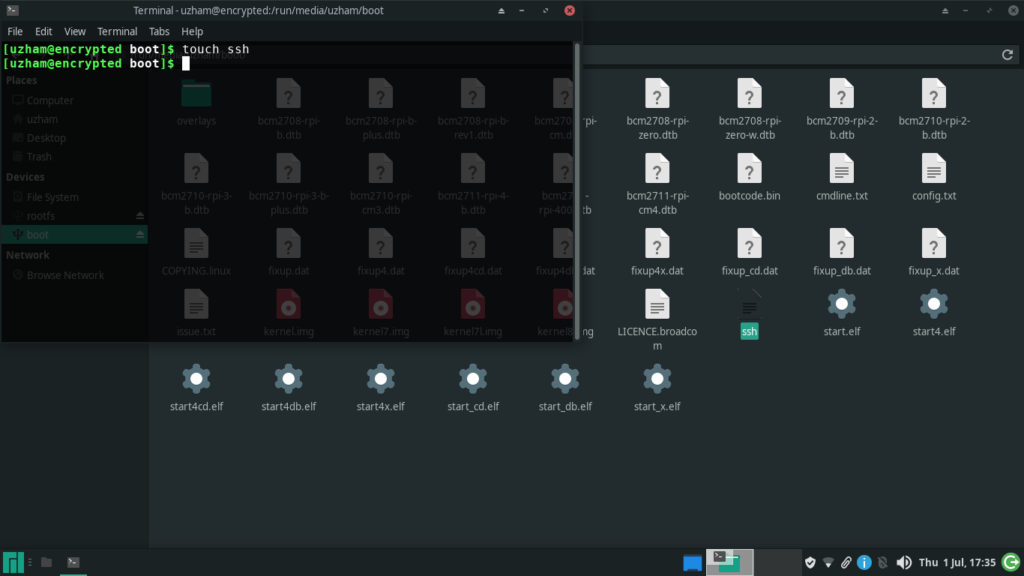
Now I have created a file called ssh and that's all for the booting of the image.
Completing the hardware setup
Now that we have booted our Sd card with the raspbian lite image, now we should do the remaining of the setup.
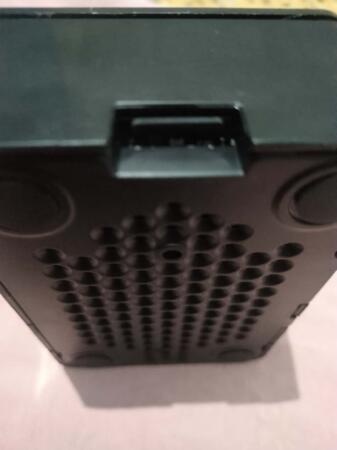
Now in the place of your raspberry pi insert your sd card and you should be good to go.
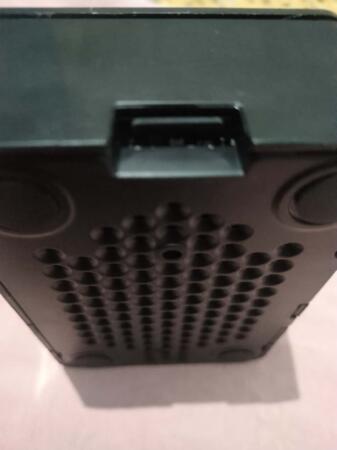
After doing that we should do two more things
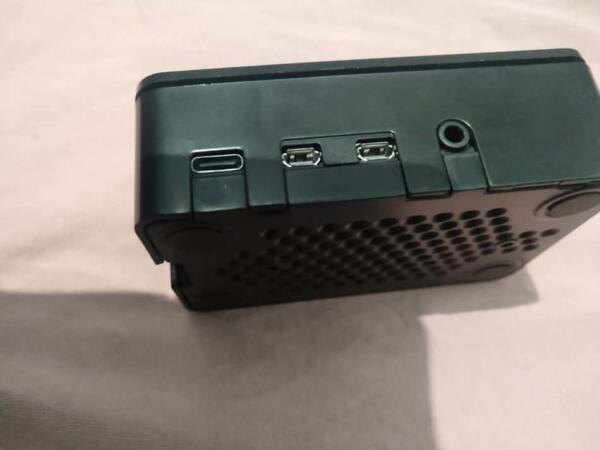
Just turn your pi to the sideways and you could see the charging port, in that connect the charging port like this
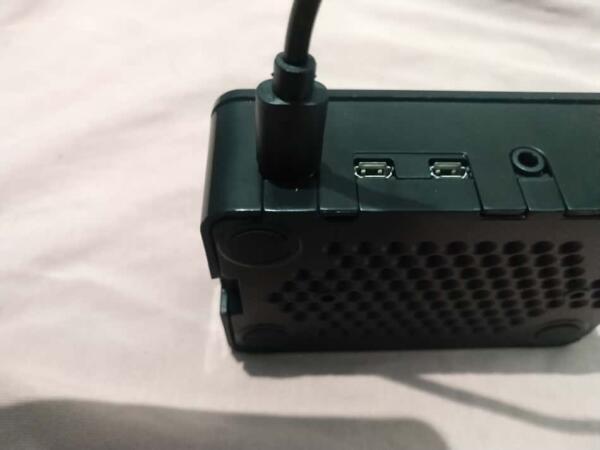
Once you have completed plugging in your power cord turn your raspberry pi to the top.
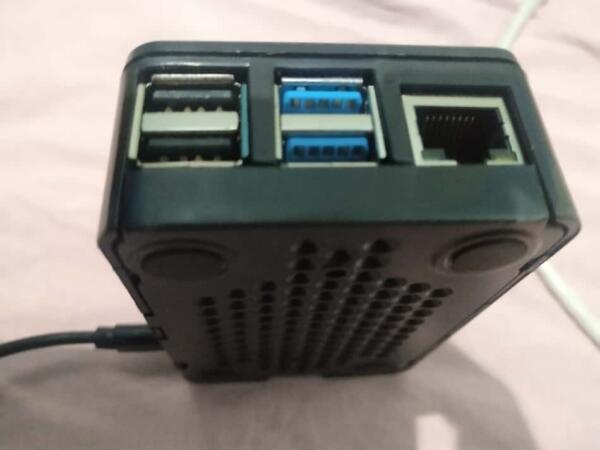
Now in the ethernet port get an ethernet cable and connect it in both the router and your raspberry pi.
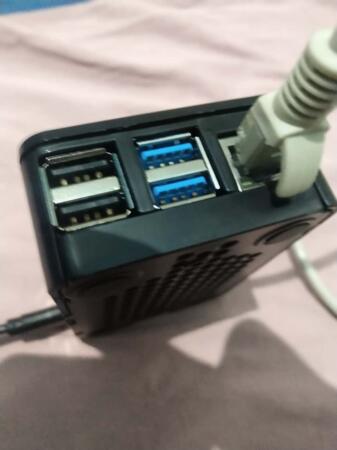
After all this connect your charger to the power port and turn it on and connect the other part of the ethernet cable to the router, once you turn on the power you should be able to see the yellow color light on your ethernet port in raspberry pi
Which indicates both the internet and power are working fine if yours not showing up then wait about 15 seconds then if not repeat these steps.
Finding out the IP address of the raspberry pi.
Now we have done everything, let's find out the IP address of the raspberry pi. Open your network admin panel
It should be something like 192.168.1.1 or 192.168.0.1 or 10.0.0.1 or you could just easily find it in the local ip address of your laptop

Now open the network admin panel and go to the status section, for you it might be different. Now inside that I have gone inside the DHCP clients.
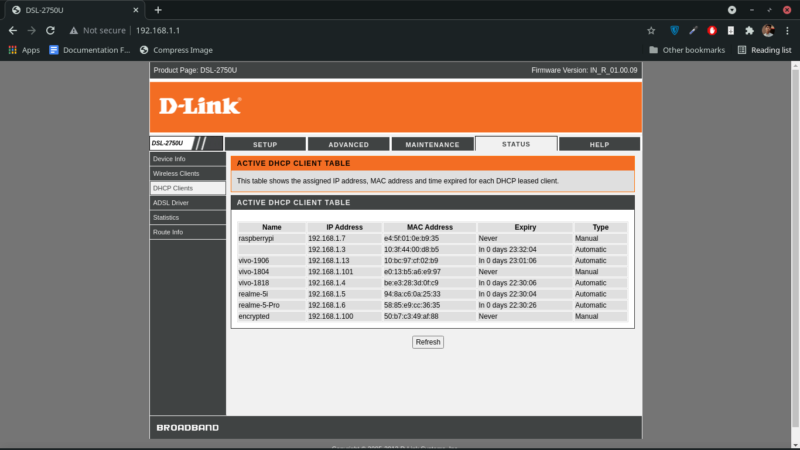
Now as you could see the first device that is connected to my network is the raspberry pi.
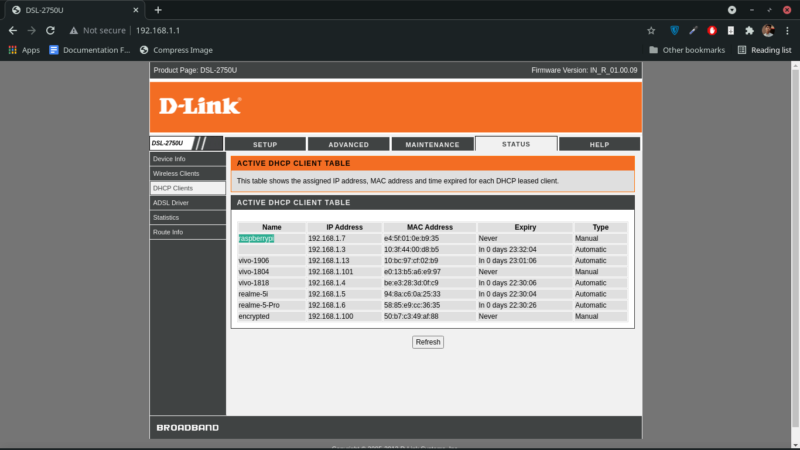
Now copy the IP address of the raspberry pi and also you can set the IP to be reserved for the raspberry pi which make sures the pi to be having a static local IP address.
Connecting to the raspberry pi
Now that everything is done we have to connect to our raspberry pi, if you are in windows then download the putty software.
https://www.youtube.com/watch?v=umFEuHWJW3w
Watch this video and see how to use putty and let's get started then
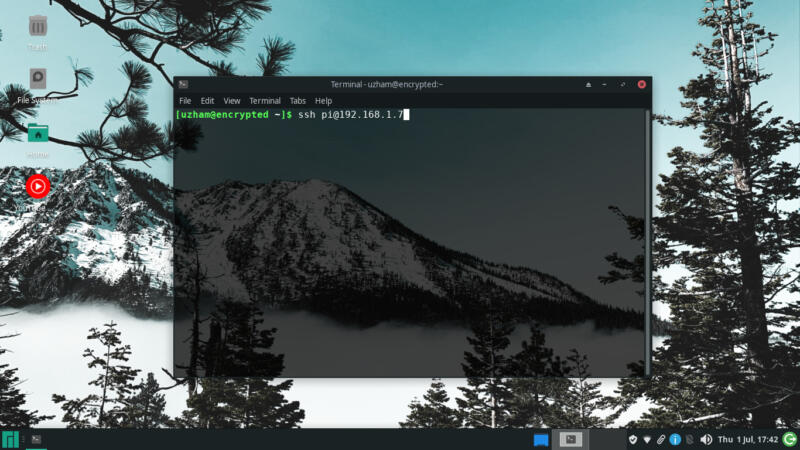
Now type the following command
ssh pi@THEIPADDRESSOFRASPBERRYPI
Now once you type that it should show you like this.
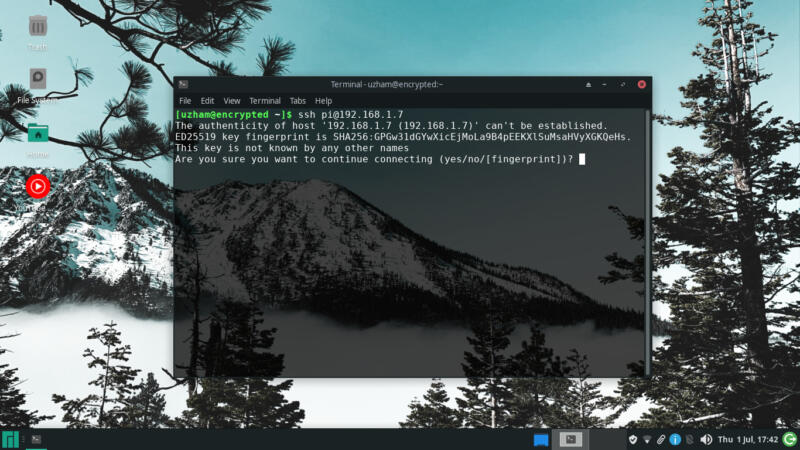
Type yes and click enter for going forward.
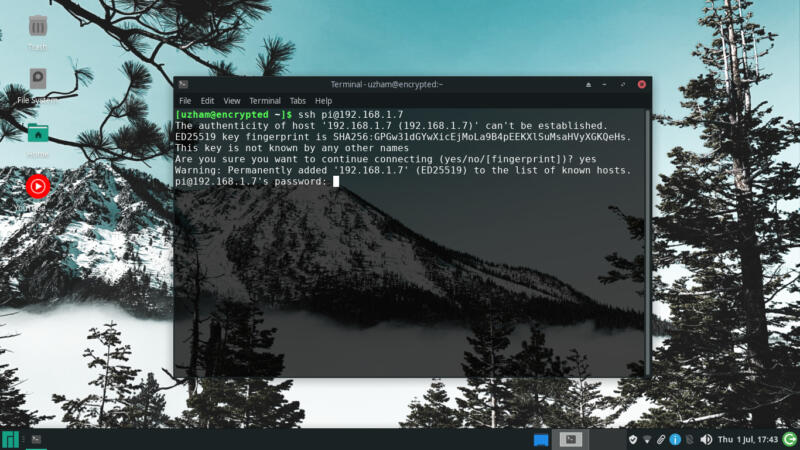
Now it asks for the default password, which is raspberry , type this and you will be allowed.
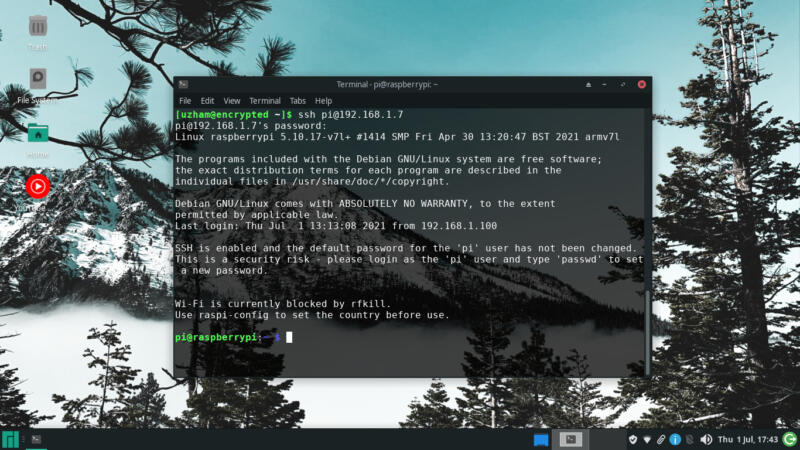
Hurray!, Let's change the password for our security purposes and this is the first priority.
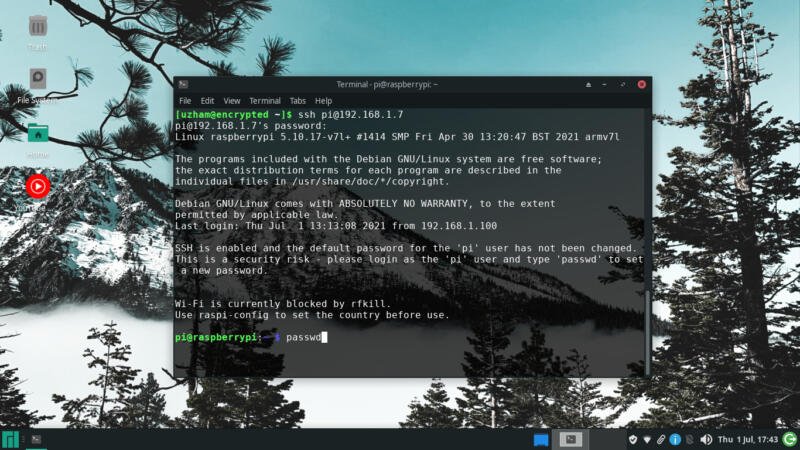
type the below code for changing your password and it will ask for your current and new password.
passwd
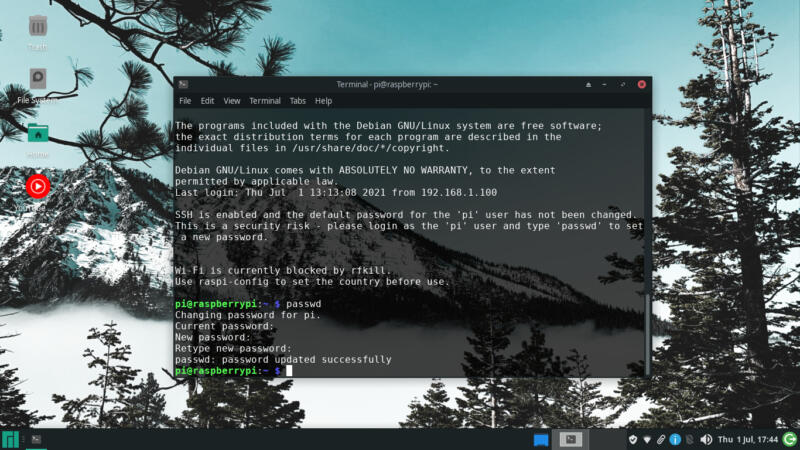
That's all for changing the password, let's update the respositories,
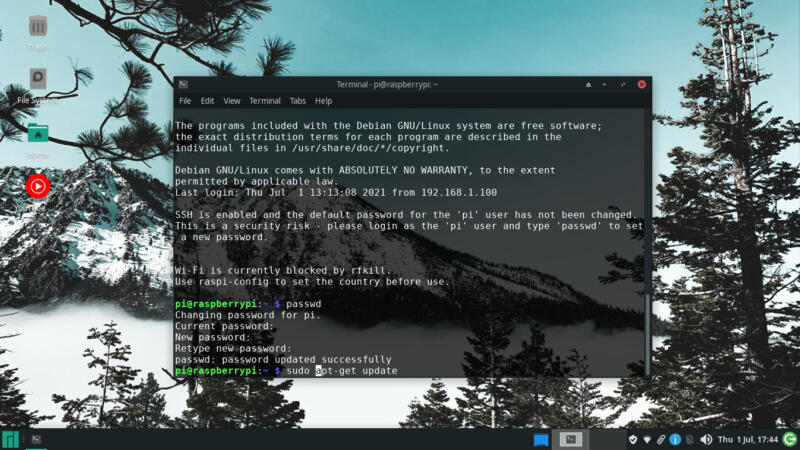
So you should type
sudo apt-get update
Which will update the database of your repository.
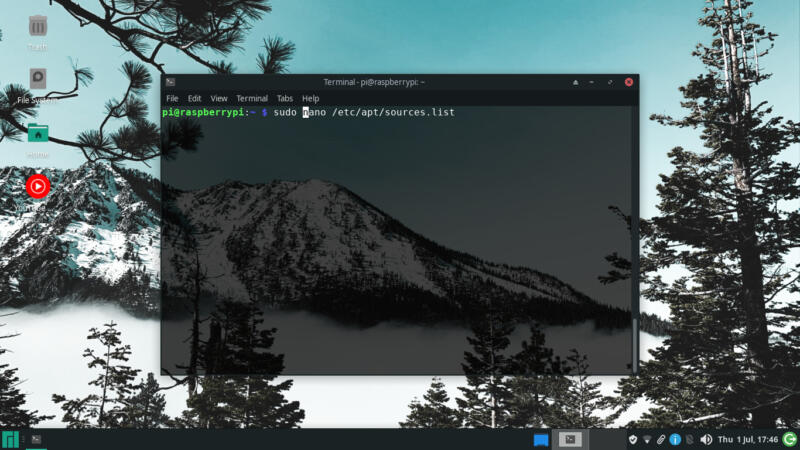
Which will only update from one repo but we want to update from another which is already pre written, so type this
sudo nano /etc/apt/sources.list
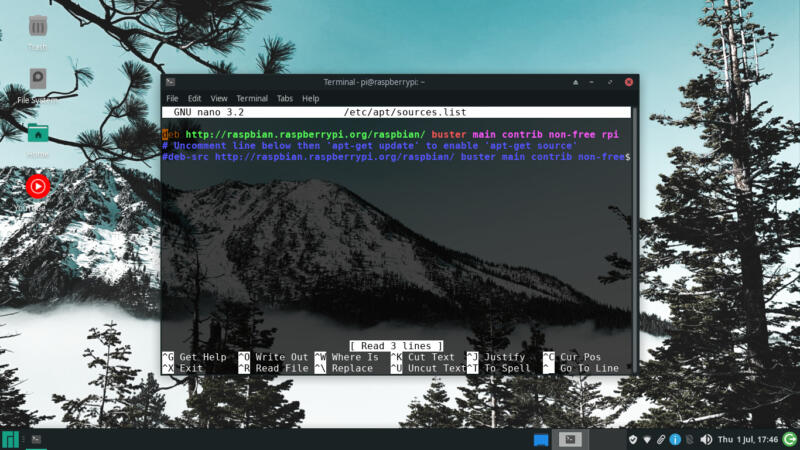
Which will open a window like this
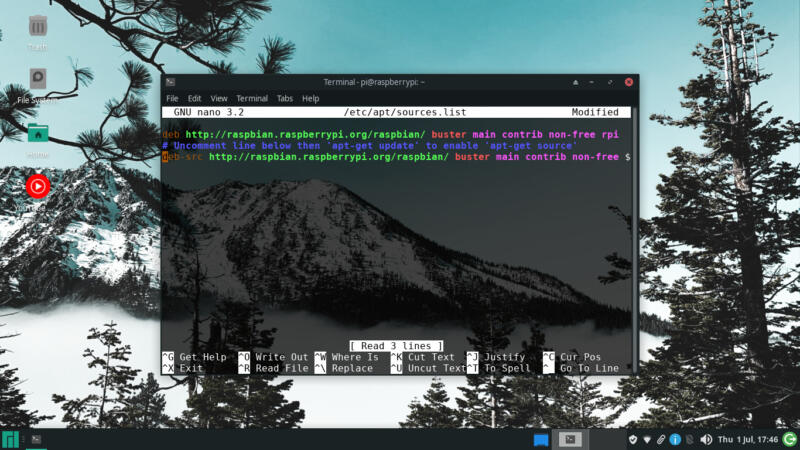
Now remove the hashtag before the last line which will be our another repository which has more content.
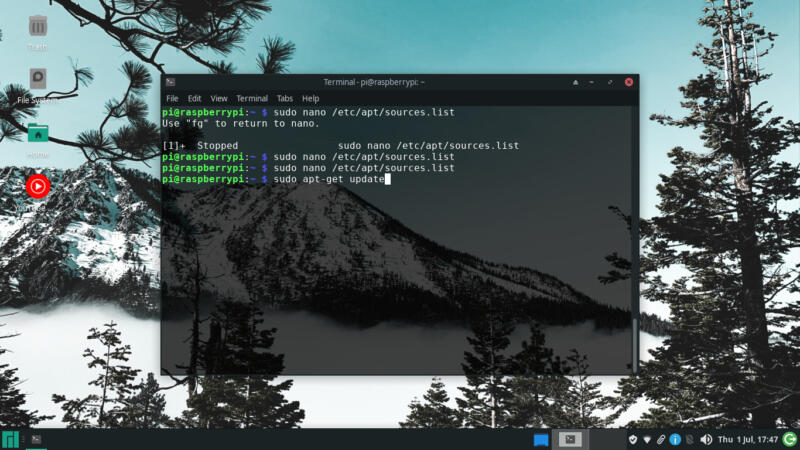
Let us update the server again then by
sudo apt-get update
Finally we have completed our whole setup if you have any questions in this please do mention them in the comments I would love to help you out guys.
Conclusion
Finally we have completed our whole raspberry pi setup and it was really super fun and I really enjoyed writing this article,
As I have mentioned there is an upcoming series that is completely based on the raspberry pi the whole complete stuff
These are the stuff's we will cover web server to hosting multiple site and load balancing with raspberry pi and open source and free ssl certificate.
And lot more, like automated backups with cronjob and automated backups that will be uploaded to s3 bucket in aws.
Mostly no one covers this because it's all upto the experiences that you have gone through and I really know the importance backup
So, there you go guys, more new contents coming and new series is coming just like in game of thrones winter is coming
I really loved game of thrones but I still couldn't divulge the fact that daenerys is dead.
Anyways, Happy Hacking Guys!


